How to activate Cloudflare on your Domain?
Here are the steps to activate Cloudflare on your domain:
- Head on <https://dash.cloudflare.com/login>.
- Log in or if you don't have a Cloudflare account, you can follow this tutorial to create one for free.

- Click on the Home section and click on the + Add site button.

- Enter your site and click on the Add site button.

- Select your plan and click on the Continue button.

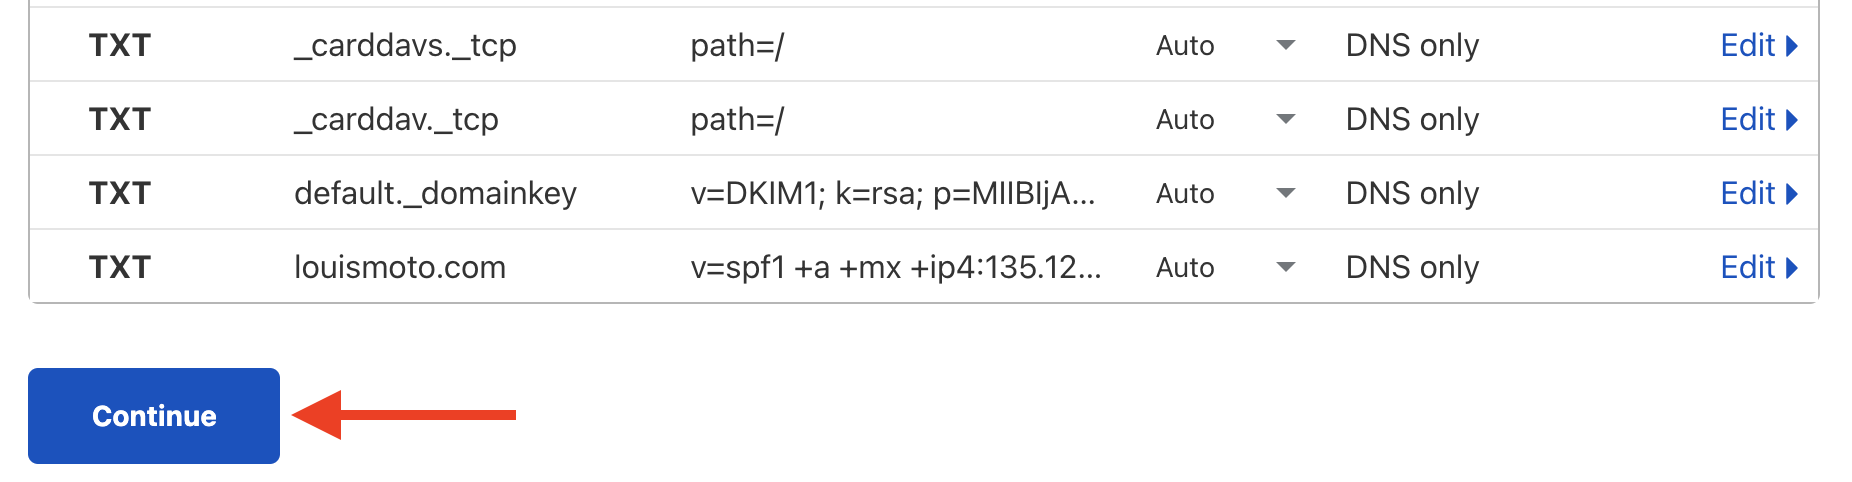
- When the quick scan is finished, verify that your DNS records are all present. You should have something similar to this:

Notice: If you have missing DNS records, refer to this article to scan your site again.
- On the Review your DNS records page, for all records EXCEPT DOMAINS AND SUBDOMAINS, make sure to set the Proxy status to DNS only by clicking the icon.

Hint: Items in green must be enabled.

- When everything is disabled except domains and subdomains, click the Continue button.
- In the Modify your nameservers page, locate and write down Cloudflare's nameservers.

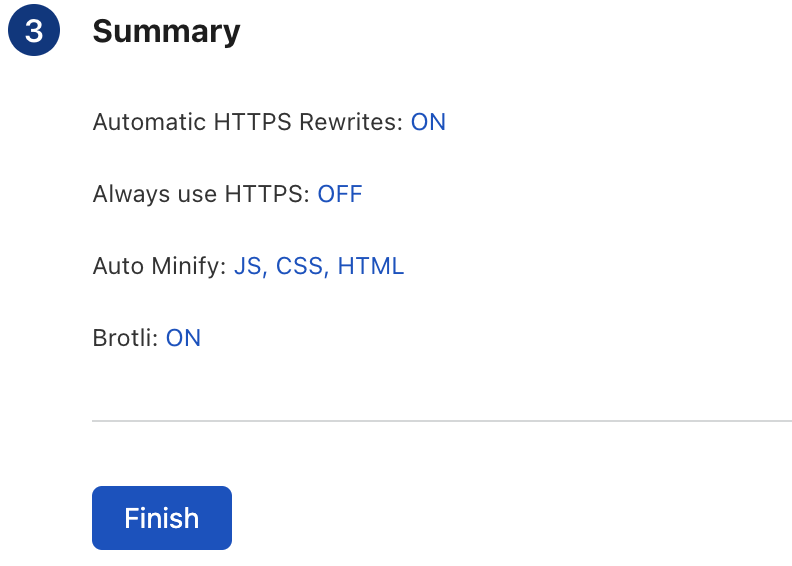
- In the Quick Start Guide page, make sure to enable the following options:
Automatic HTTPS Rewrites
Auto Minify (JavaScript, CSS et HTML)
Brotli
- Now log into your client area here.
- In My Dashboard, click on Domains.

- In the My Domains page, locate the domain you want to enable Cloudflare on. Click on the 3 dots and click on Manage Nameservers.

- In the Managing yourDomain.com page, under the Nameservers section, enable Use custom nameservers and replace the existing nameservers with those on step 9.

- Click the Change Nameservers button.


Congratulations, you have successfully activated Cloudflare on your domain.
Updated on: 20/02/2023
Thank you!