How to activate Cloudflare on your Domain?
Here are the steps to activate Cloudflare on your domain:
1. Head on .
2. Log in or if you don't have a Cloudflare account, you can follow this tutorial to create one for free.

3. Click on the Home section and click on the + Add site button.

4. Enter your site and click on the Add site button.

5. Select your plan and click on the Continue button.

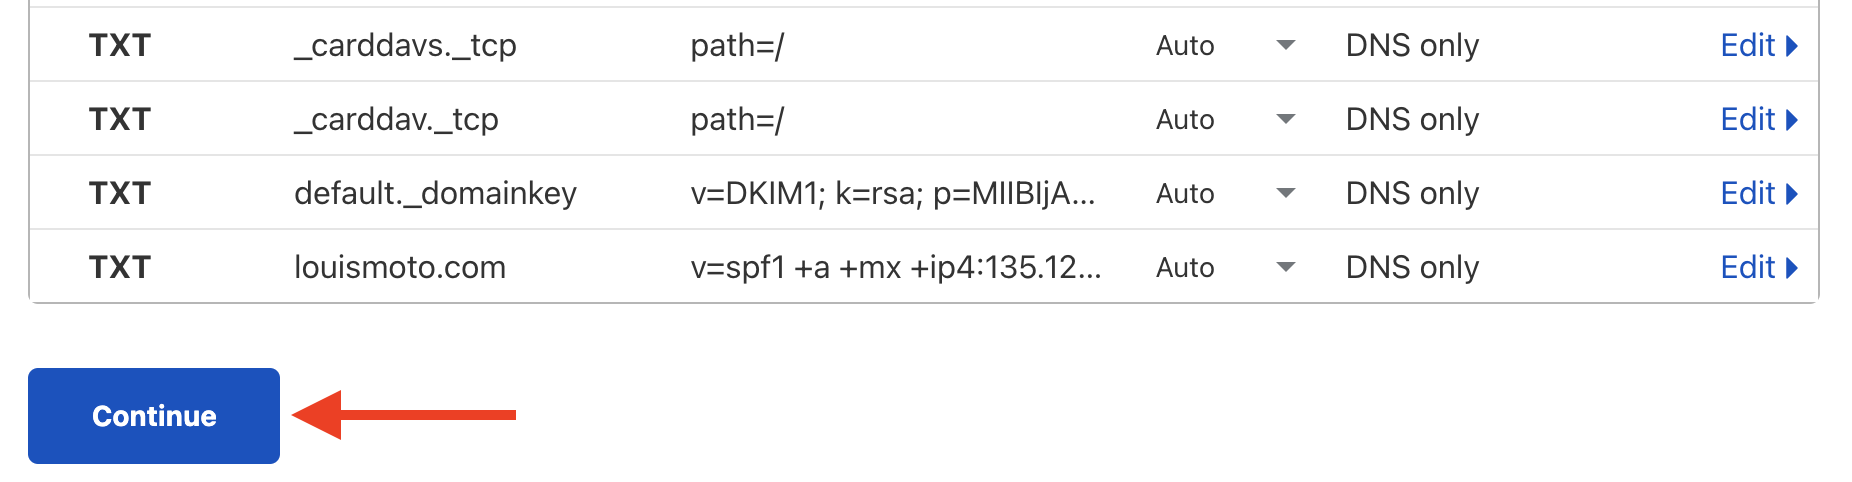
6. When the quick scan is finished, verify that your DNS records are all present. You should have something similar to this:

Notice: If you have missing DNS records, refer to this article to scan your site again.
7. On the Review your DNS records page, for all records EXCEPT DOMAINS AND SUBDOMAINS, make sure to set the Proxy status to DNS only by clicking the icon.

Hint: Items in green must be enabled.

8. When everything is disabled except domains and subdomains, click the Continue button.
9. In the Modify your nameservers page, locate and write down Cloudflare's nameservers.

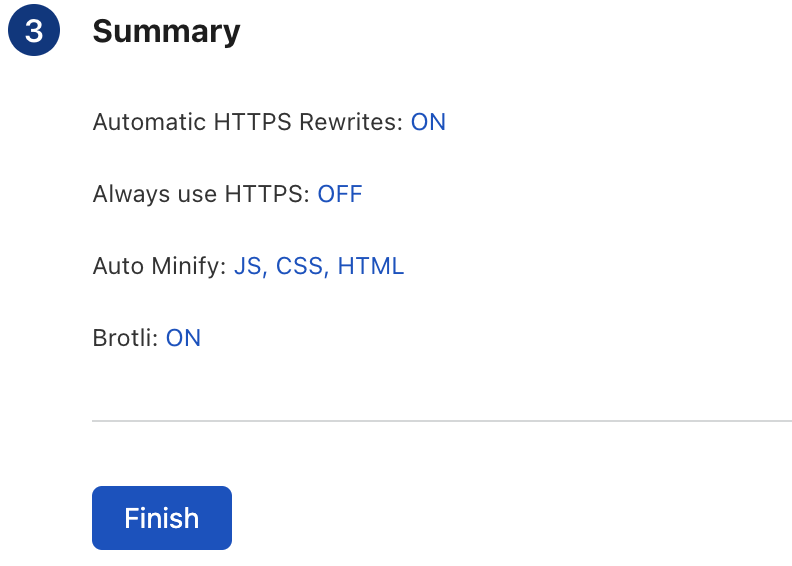
10. In the Quick Start Guide page, make sure to enable the following options:
Automatic HTTPS Rewrites
Auto Minify (JavaScript, CSS et HTML)
Brotli
11. Now log into your client area here.
12. In My Dashboard, click on Domains.
 \
\
13. In the My Domains page, locate the domain you want to enable Cloudflare on. Click on the 3 dots and click on Manage Nameservers.

14. In the Managing yourDomain.com page, under the Nameservers section, enable Use custom nameservers and replace the existing nameservers with those on step 9.

15. Click the Change Nameservers button.
 \
\

Congratulations, you have successfully activated Cloudflare on your domain.
Updated on: 20/02/2023
Thank you!