How to add cron job in cPanel?
How to create Cron Job via cPanel?
A cron job is simply a task that you schedule to run automatically at specific intervals. For example, if you want to back up a file every six hours, you can set this up easily using cPanel's cron jobs feature.
To add a cron job via cPanel follow the below steps:
Step 1. Login to your cPanel
- Use either of the following link to get to your cPanel login:
example.com/cpanel
example.com:2083
Note: Replace "example.com" with your actual domain name.
- Type in your cPanel username and Password.

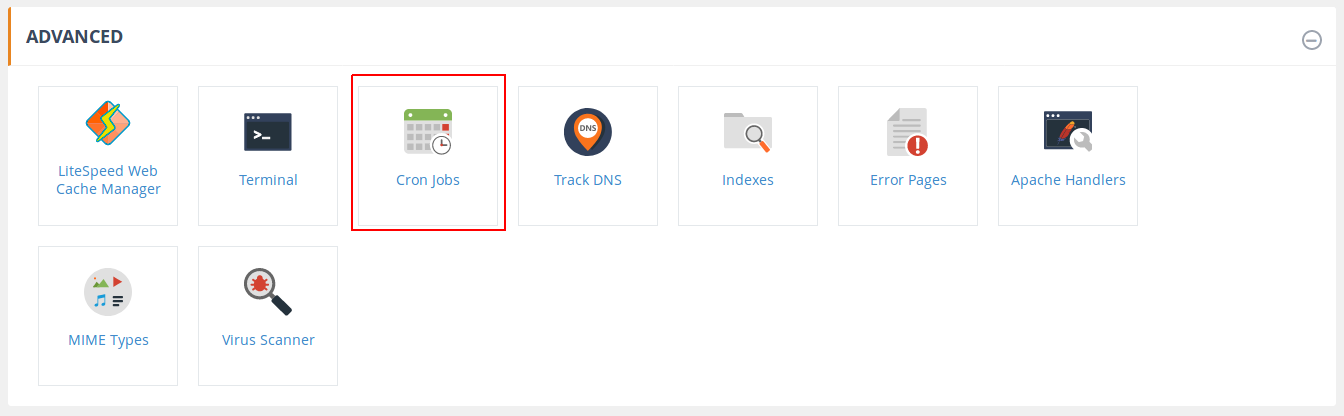
Step 2. Search fro 'Cron Jobs'
Scroll down to the 'ADVANCED' section and click on the 'Cron Jobs' icon. Or search for cron jobs in the search bar.
Step 3. Update Email
In the 'Email' text box, enter the email address on which you wish to receive the cron notification. Every time the cron job runs, the e-mail account receives a message.

Click 'Update Email' button.
Note: If you do not want to receive email notification for a particular cron job, you can append ">/dev/null 2>&1" to the cron job command in the command field, which redirects all output to /dev/null.
To disable email notification for all cron jobs, remove the email address.
Step 4. Add New Cron Job
Select the interval at which you wish to run the cron job from the appropriate menus, or enter the values in the text boxes under 'Common Settings'. It allows you to select a commonly-used interval.
If you select an interval option under 'Common Settings', cPanel fills in the values automatically.

- Minute --- Select the number of minutes between each time the cron job runs, or the minute of each hour on which you wish to run the cron job.
- Hour --- Select the number of hours between each time the cron job runs, or the hour of each day on which you wish to run the cron job.
- Day --- Select the number of days between each time the cron job runs, or the day of the month on which you wish to run the cron job.
- Month --- Select the number of months between each time the cron job runs, or the month of the year in which you wish to run the cron job.
- Weekday --- Select the days of the week on which you wish to run the cron job.
In the 'Command' text box, type the command that you want to run, or enter the path of the script you want to run. Remember to add ">/dev/null 2>&1" to the end of the command or script, if you do not want to receive email notification for that cron job.
Finally, click 'Add New Cron Job'. Cpanel creates the cron job and it's done. You will receive a notification "cPanel successfully added the cron job" as a confirmation like the one shown in the below screenshot.

Note: If you schedule a cron job to run vey often, they may degrade your server performance.
Step 5. Edit or Delete the cron job
To edit or delete a cron job,
- scroll down to the 'Current Cron Jobs' section in the same page

- Locate the cron job that you wish to edit, and
- Use the 'Edit' or 'Delete' button in the 'Actions' coloumn to the right of the same, according to your need.
Updated on: 14/02/2023
Thank you!