Everything you need to know to get started with Divi
Welcome to the Getting Started with Divi guide. This guide is, above all, a continuation of the [Divi hosting] purchase (https://www.ex2.com/hosting/wordpress-divi "divi hosting"). It is intended, among other things, for people who are new to website creation. Divi Wordpress packages include the Divi license and its installation. After purchasing a Divi package, all you have to do is follow the tutorial to create a website in the colors of your project. To learn more about our Divi hosting packages, click here.
Using Divi and Divi Builder to create your website is a great idea. This extension allows you to easily add and format content to your Wordpress website. Divi Builder allows you to edit your website directly in the page instead of going through the Wordpress dashboard. This makes it much easier and more efficient to make changes to your website.
Table of contents
- Change title and slogan](#3-change-the-title-and-slogan)
- [Change the logo]
- [Add a home page]
- [Change the main menu]
- [Change the landing page]
- [Change the header]
- [Delete a row]
- [Add a row]
- [Modify a two-column section (text)]
- [Modify a full width section]
- [Edit a two-column section (video)]
- [Edit a section with multiple rows/columns]
- [Add testimonials (testimonials)]
- [Add a full width image gallery]
- [Edit contact form]
- [Create a footer]
- [Remove the magnifying glass in the main menu]
- [Add a page to your website]
- [Add a blog to your website]
Here is an example of a web page made with the Divi theme and Divi Builder.

With this tutorial, you will learn how to make a page similar to the one above.
Change the title and slogan
First of all let's change the title and the slogan of your website.
1. Go to the dashboard of your Wordpress site.

2. Hover over Divi and click on Theme Customizer.

3. Click on General Settings.

4. Click on Site Identity.

5. Change your title and the slogan of your website and click on Publish.

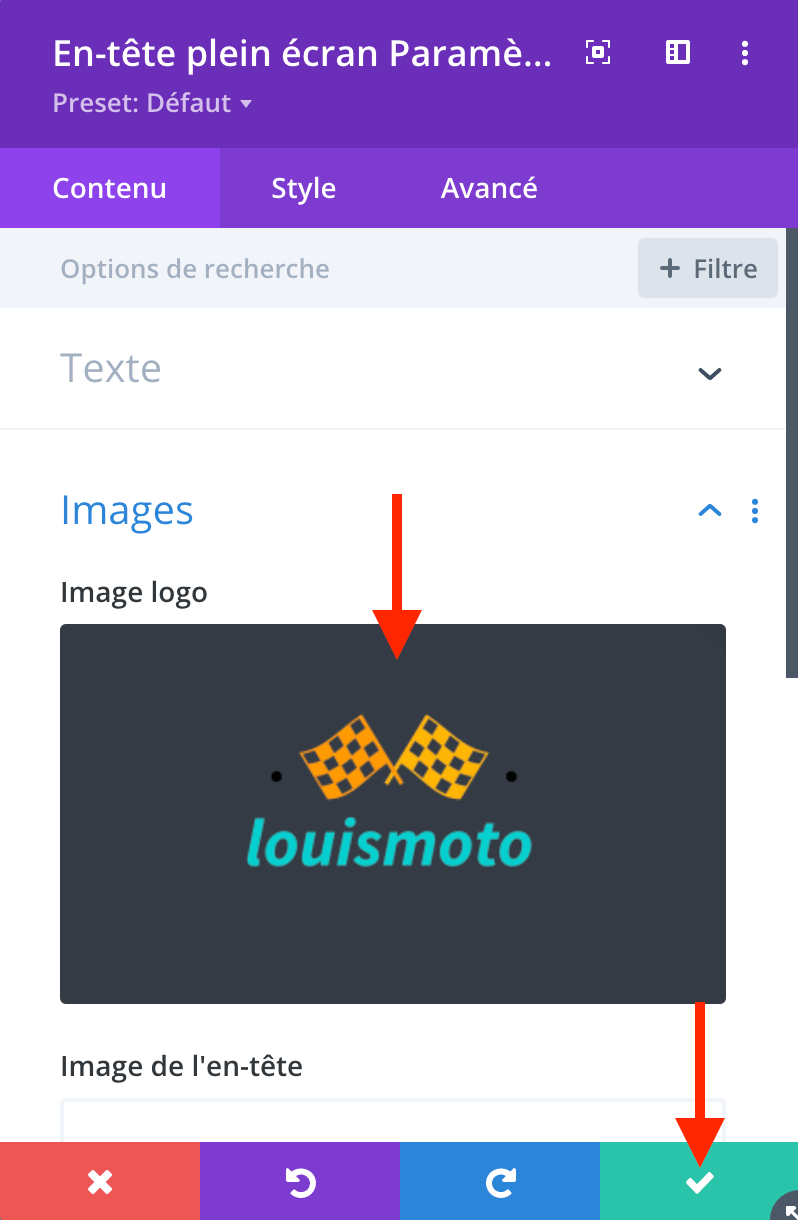
Now let's change the logo of your website.
1. Go to the dashboard of your Wordpress website.
2. Hover over Divi and click on Theme Options.

3. In the General section you will find Logo.

4. Upload your Logo, by clicking on Upload.


Let's add our home page with layout to the website.
1. Go to the dashboard of your Wordpress site.
2. Hover over Page and click on Add.

3. Enter the title of your page and click on Use Divi Builder.

4. Click on the purple option; Choose layout.


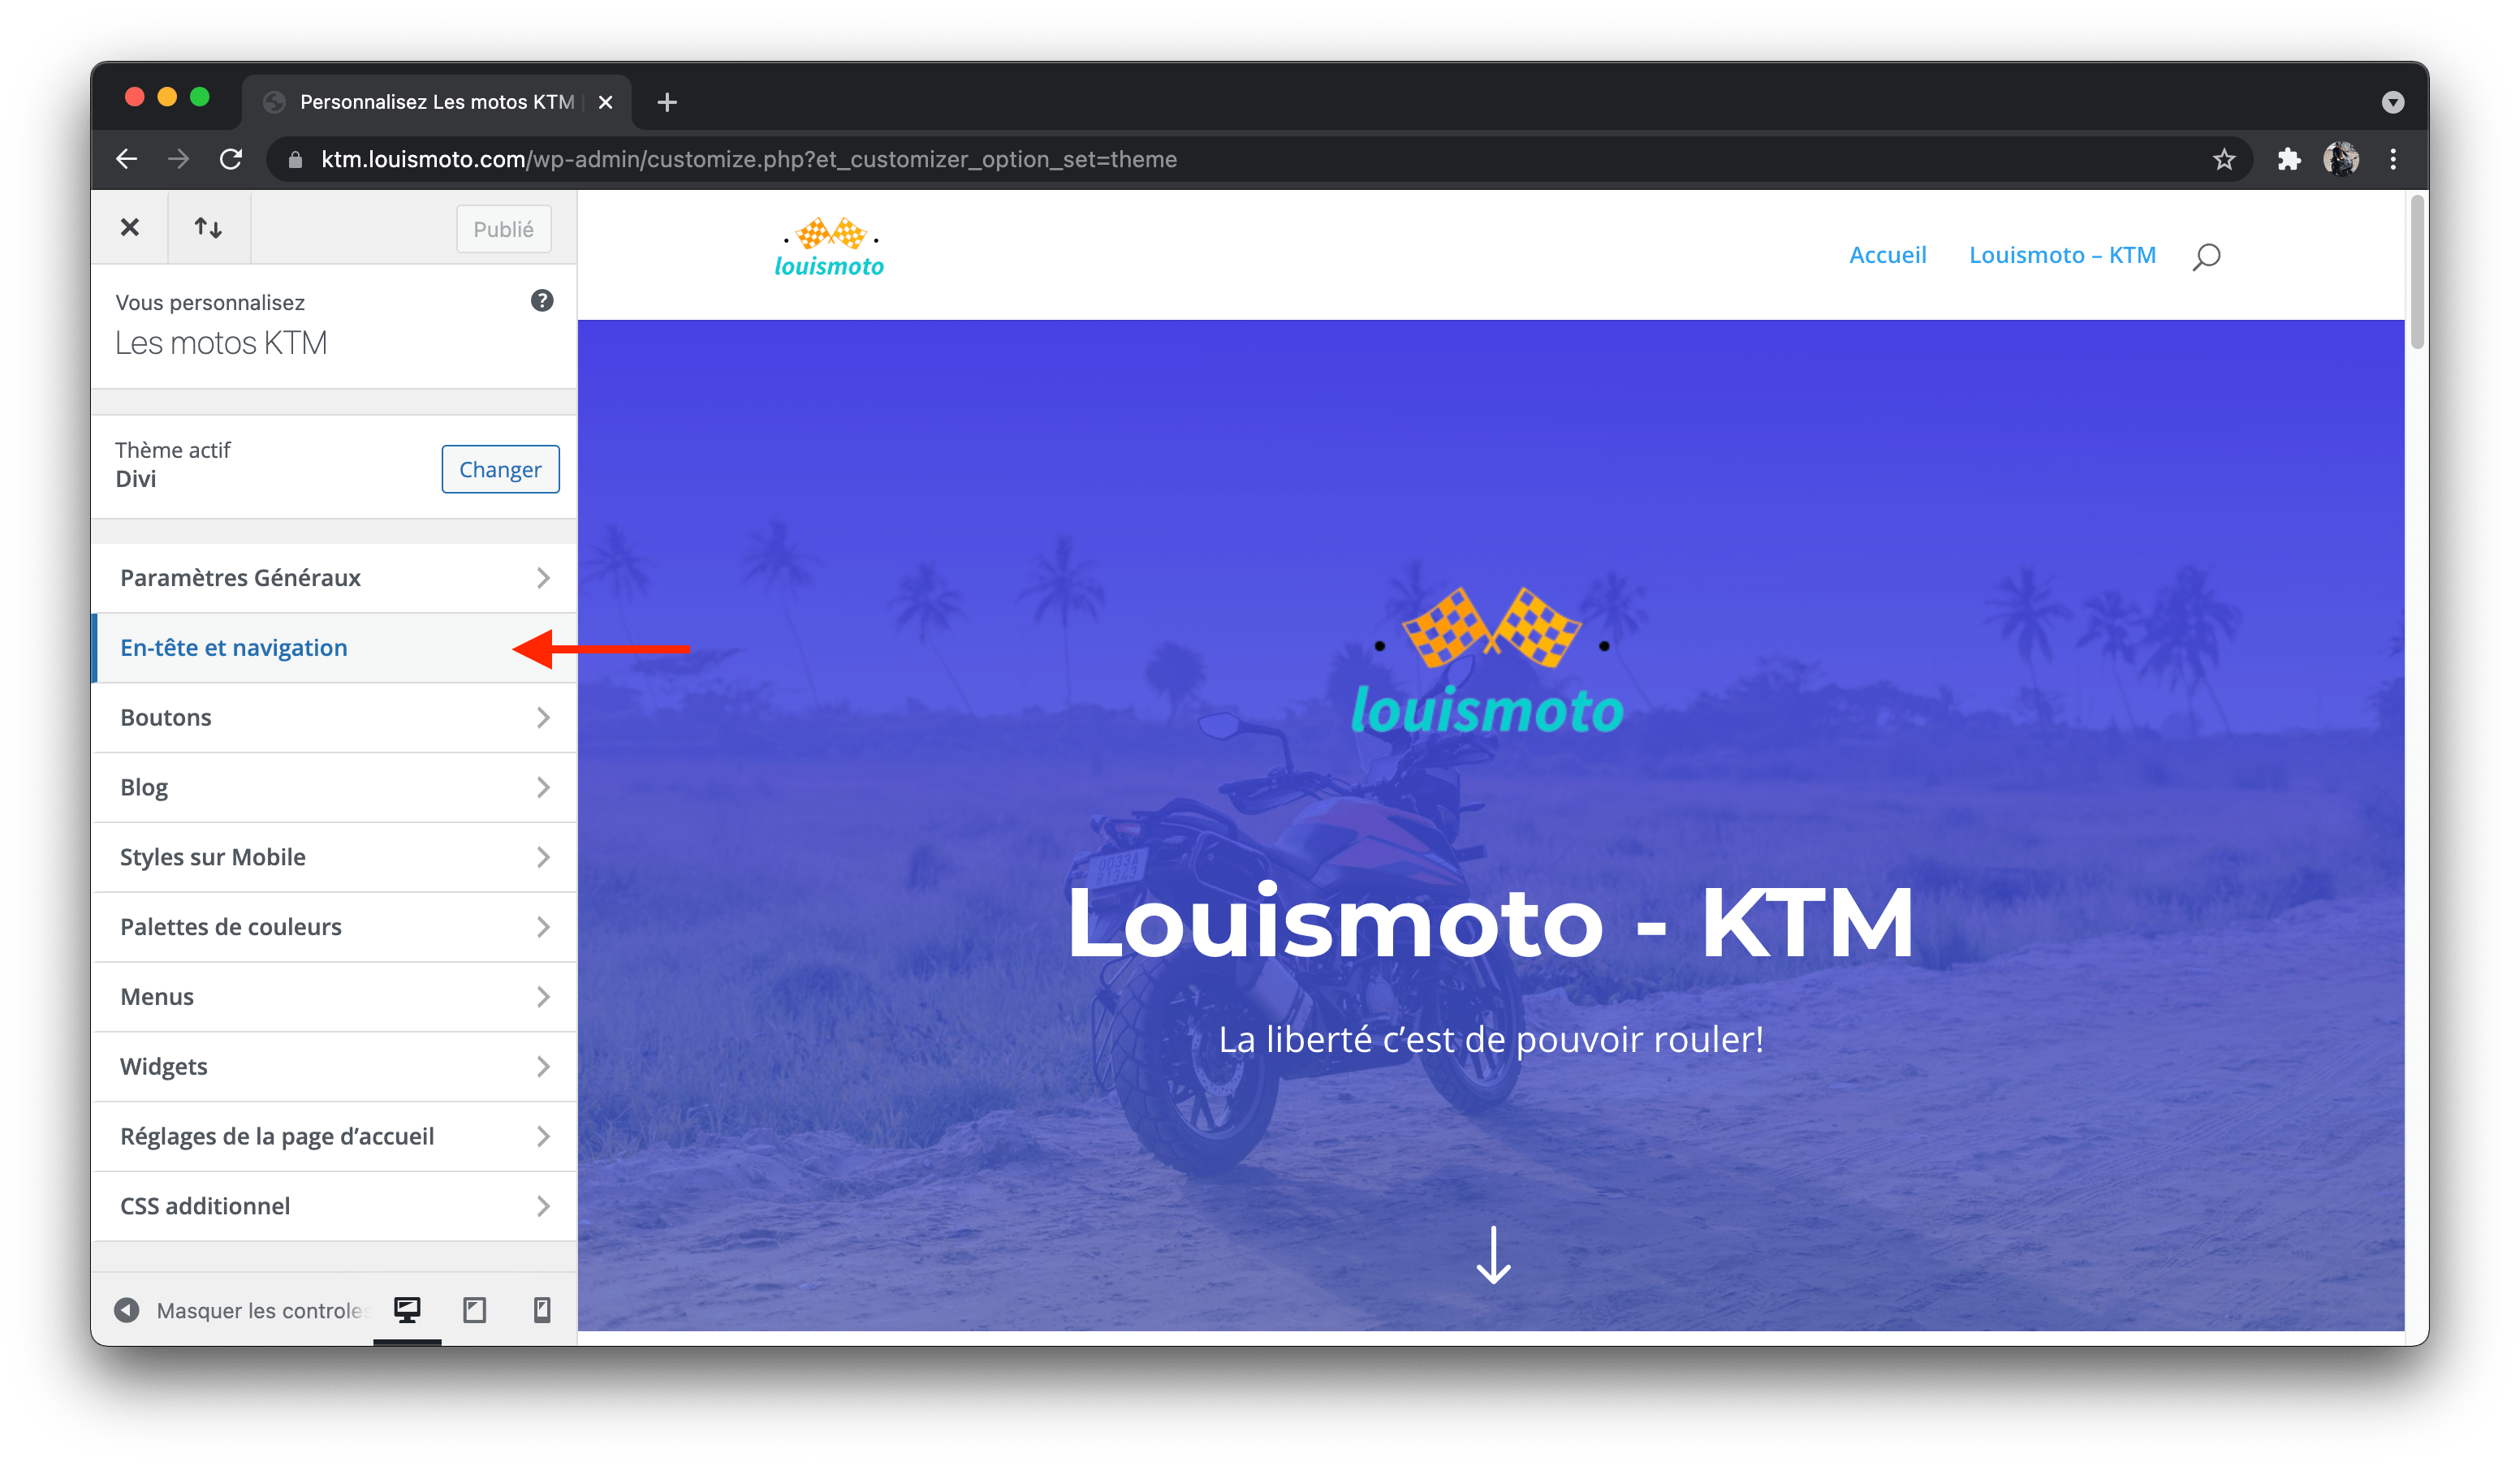
Let's modify the main menu of our website.
1. Go to the dashboard of your Wordpress site.

3. In the Menu Structure section, enter the name of your menu.

4. Next to Show Location, check Main Menu.

5. Click on the Create Menu button.

6. Then, under Add Menu Items, select the pages you want to display in the menu.

7. Click on the Save Menu button.

Let's change the home/main page of the website. This is the page that will be displayed first if someone visits your website.
1. Go to the dashboard of your Wordpress site.
2. Hover over Settings and click on Playback.

3. In the Home page displays option, select A static page and choose your home page.

- Click on the Save Changes button.

Let's change the header of our site to make it unique.
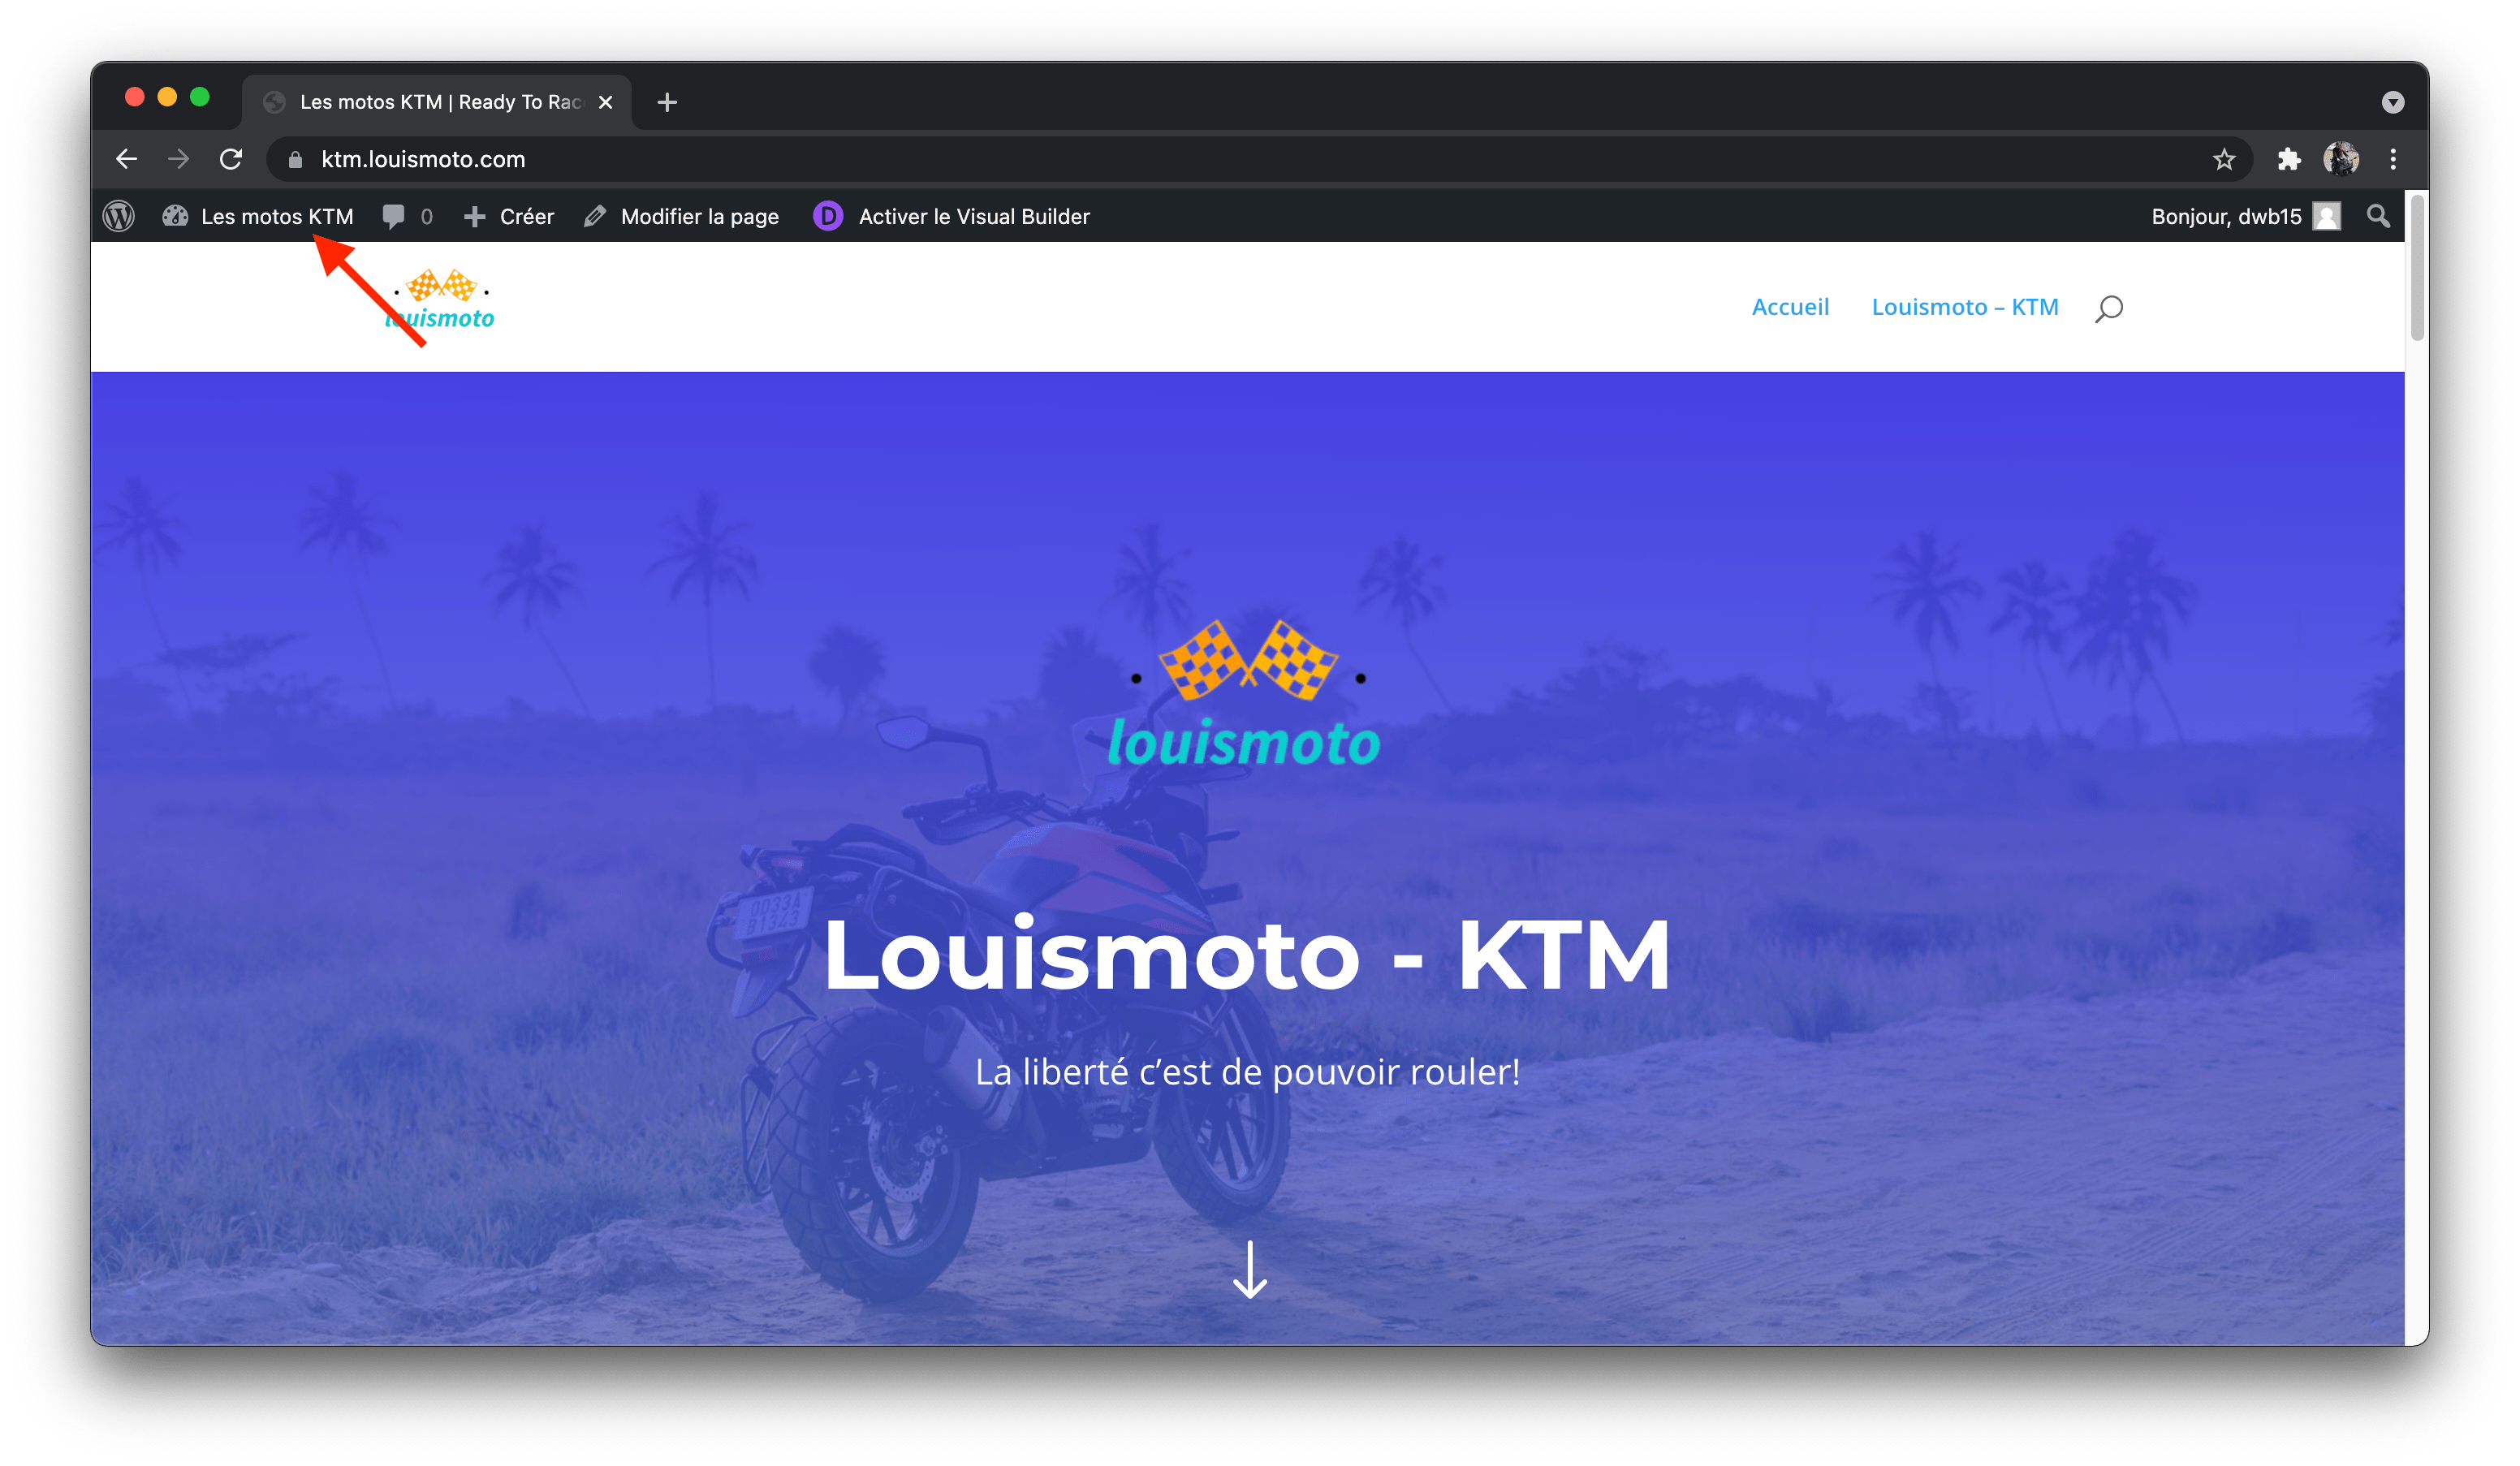
1. On the home page, in my case Louismoto - KTM, click on Activate Visual Builder.

2. You have two ways to modify the content of your page. When some text appears, you can click directly on it and change it. Otherwise, you have to click on the gear of the module you want to change.


Let's take the opportunity to add a logo to our header:\
3. Now, let's change the background image to make the header of our website to our liking. Click on the gear of the section.


4. Save and publish the changes by clicking on the purple button ... and click Save.


Let's remove a row that is too much in our website.
1. Click on the row you want to delete and click on the trash can at the top left of the row.

2. Save and publish the changes by clicking on the purple button ... and click Save.


Let's add a row in our website.
1. Click on the + button.

2. Choose the kind of section you want to have.

3. Choose the row you want.

4. Save and publish the changes by clicking on the purple button ... and click Save.
For the two-column section below the header, let's take the opportunity to write a short description of the website.
1. Hover over the columns and click on them to insert the desired text.


2. Save and publish the changes by clicking on the purple button ... and click on Save.


Now let's tackle the modification of a full width two column section.
1. Click on the section and then click on the gear.

2. You will see two columns. The first one is the one on the left and the second one on the right. Let's tackle the left one first. We are going to modify the photo to put a photo that represents the text that will be on the right of it.

3. Upload the photo and click on the green check mark.

4. In the same way as before, modify the text on the right of the photo. I advise you to put a text in connection with it.

5. Save and publish the changes by clicking on the purple button ... and click on Save.
Let's edit the two column section with video.
1. In the same way as before, edit the text to the left of the video. I recommend that you put some text related to the video.

2. Now click on the video module and click on the gear.

3. Choose the desired video, using the URL or a local file.

4. Choose the thumbnail of the video, to customize the layout of your video.

5. Save and publish the changes by clicking on the purple button ... and click Save.

For the next section, I introduce the different templates available to clients.
1. For text replacement, click on the module and replace the text directly.

2. For image replacement, click on the module and click on the gear.


3. To remove the social media icons, simply remove the # in the text field.

4. Save and publish the changes by clicking on the purple button ... and click Save.
1. Editing the content of the testimonials is simple. For the text, just click on the modules and replace it directly in the interface.
2. To modify the whole content of the testimony, it is also possible to use the gear.


3. Save and publish the changes by clicking on the purple button ... and click on Save.

Let's add a section! This section will be an image gallery that is the full width of the page.
1. Click on the blue + button.

2. Choose a regular section with 1 row of 1 column.


3. Choose the gallery module.

4. Add the images we want to have in our gallery.
5. In the option number of images, enter the number of images you want to have in your gallery. I chose 8 images.
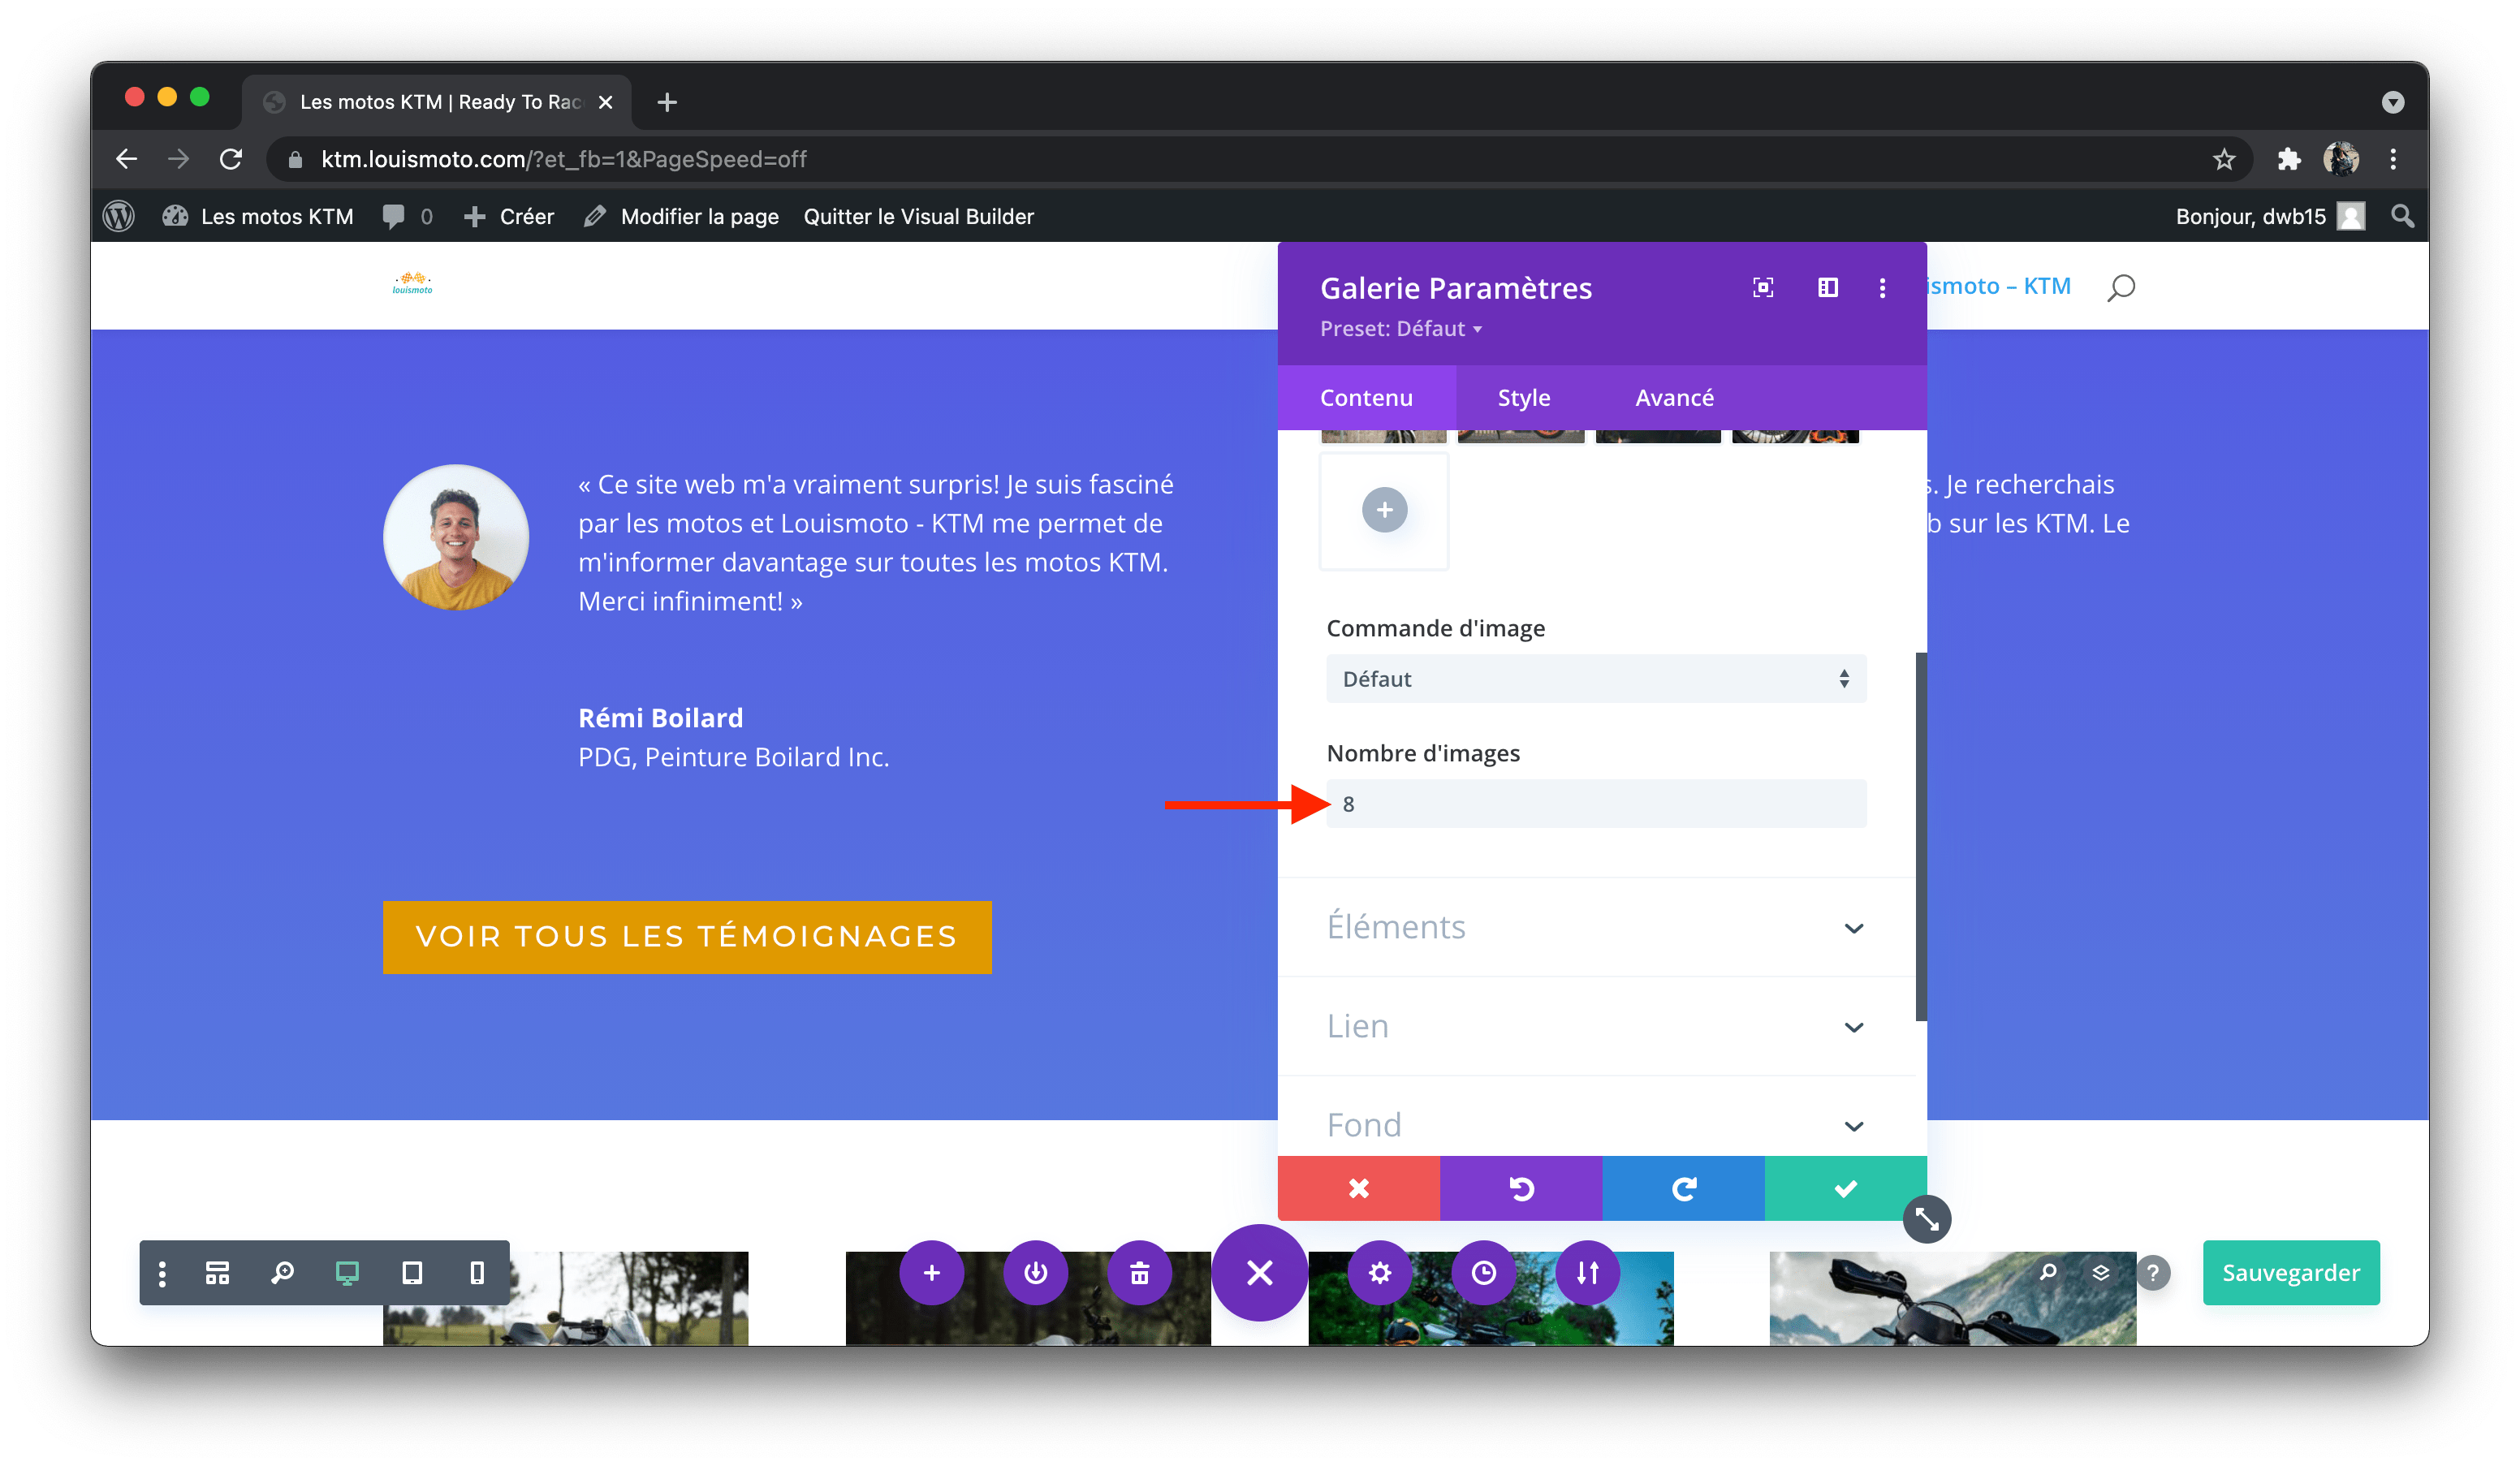
6. In the Items option, uncheck both options.
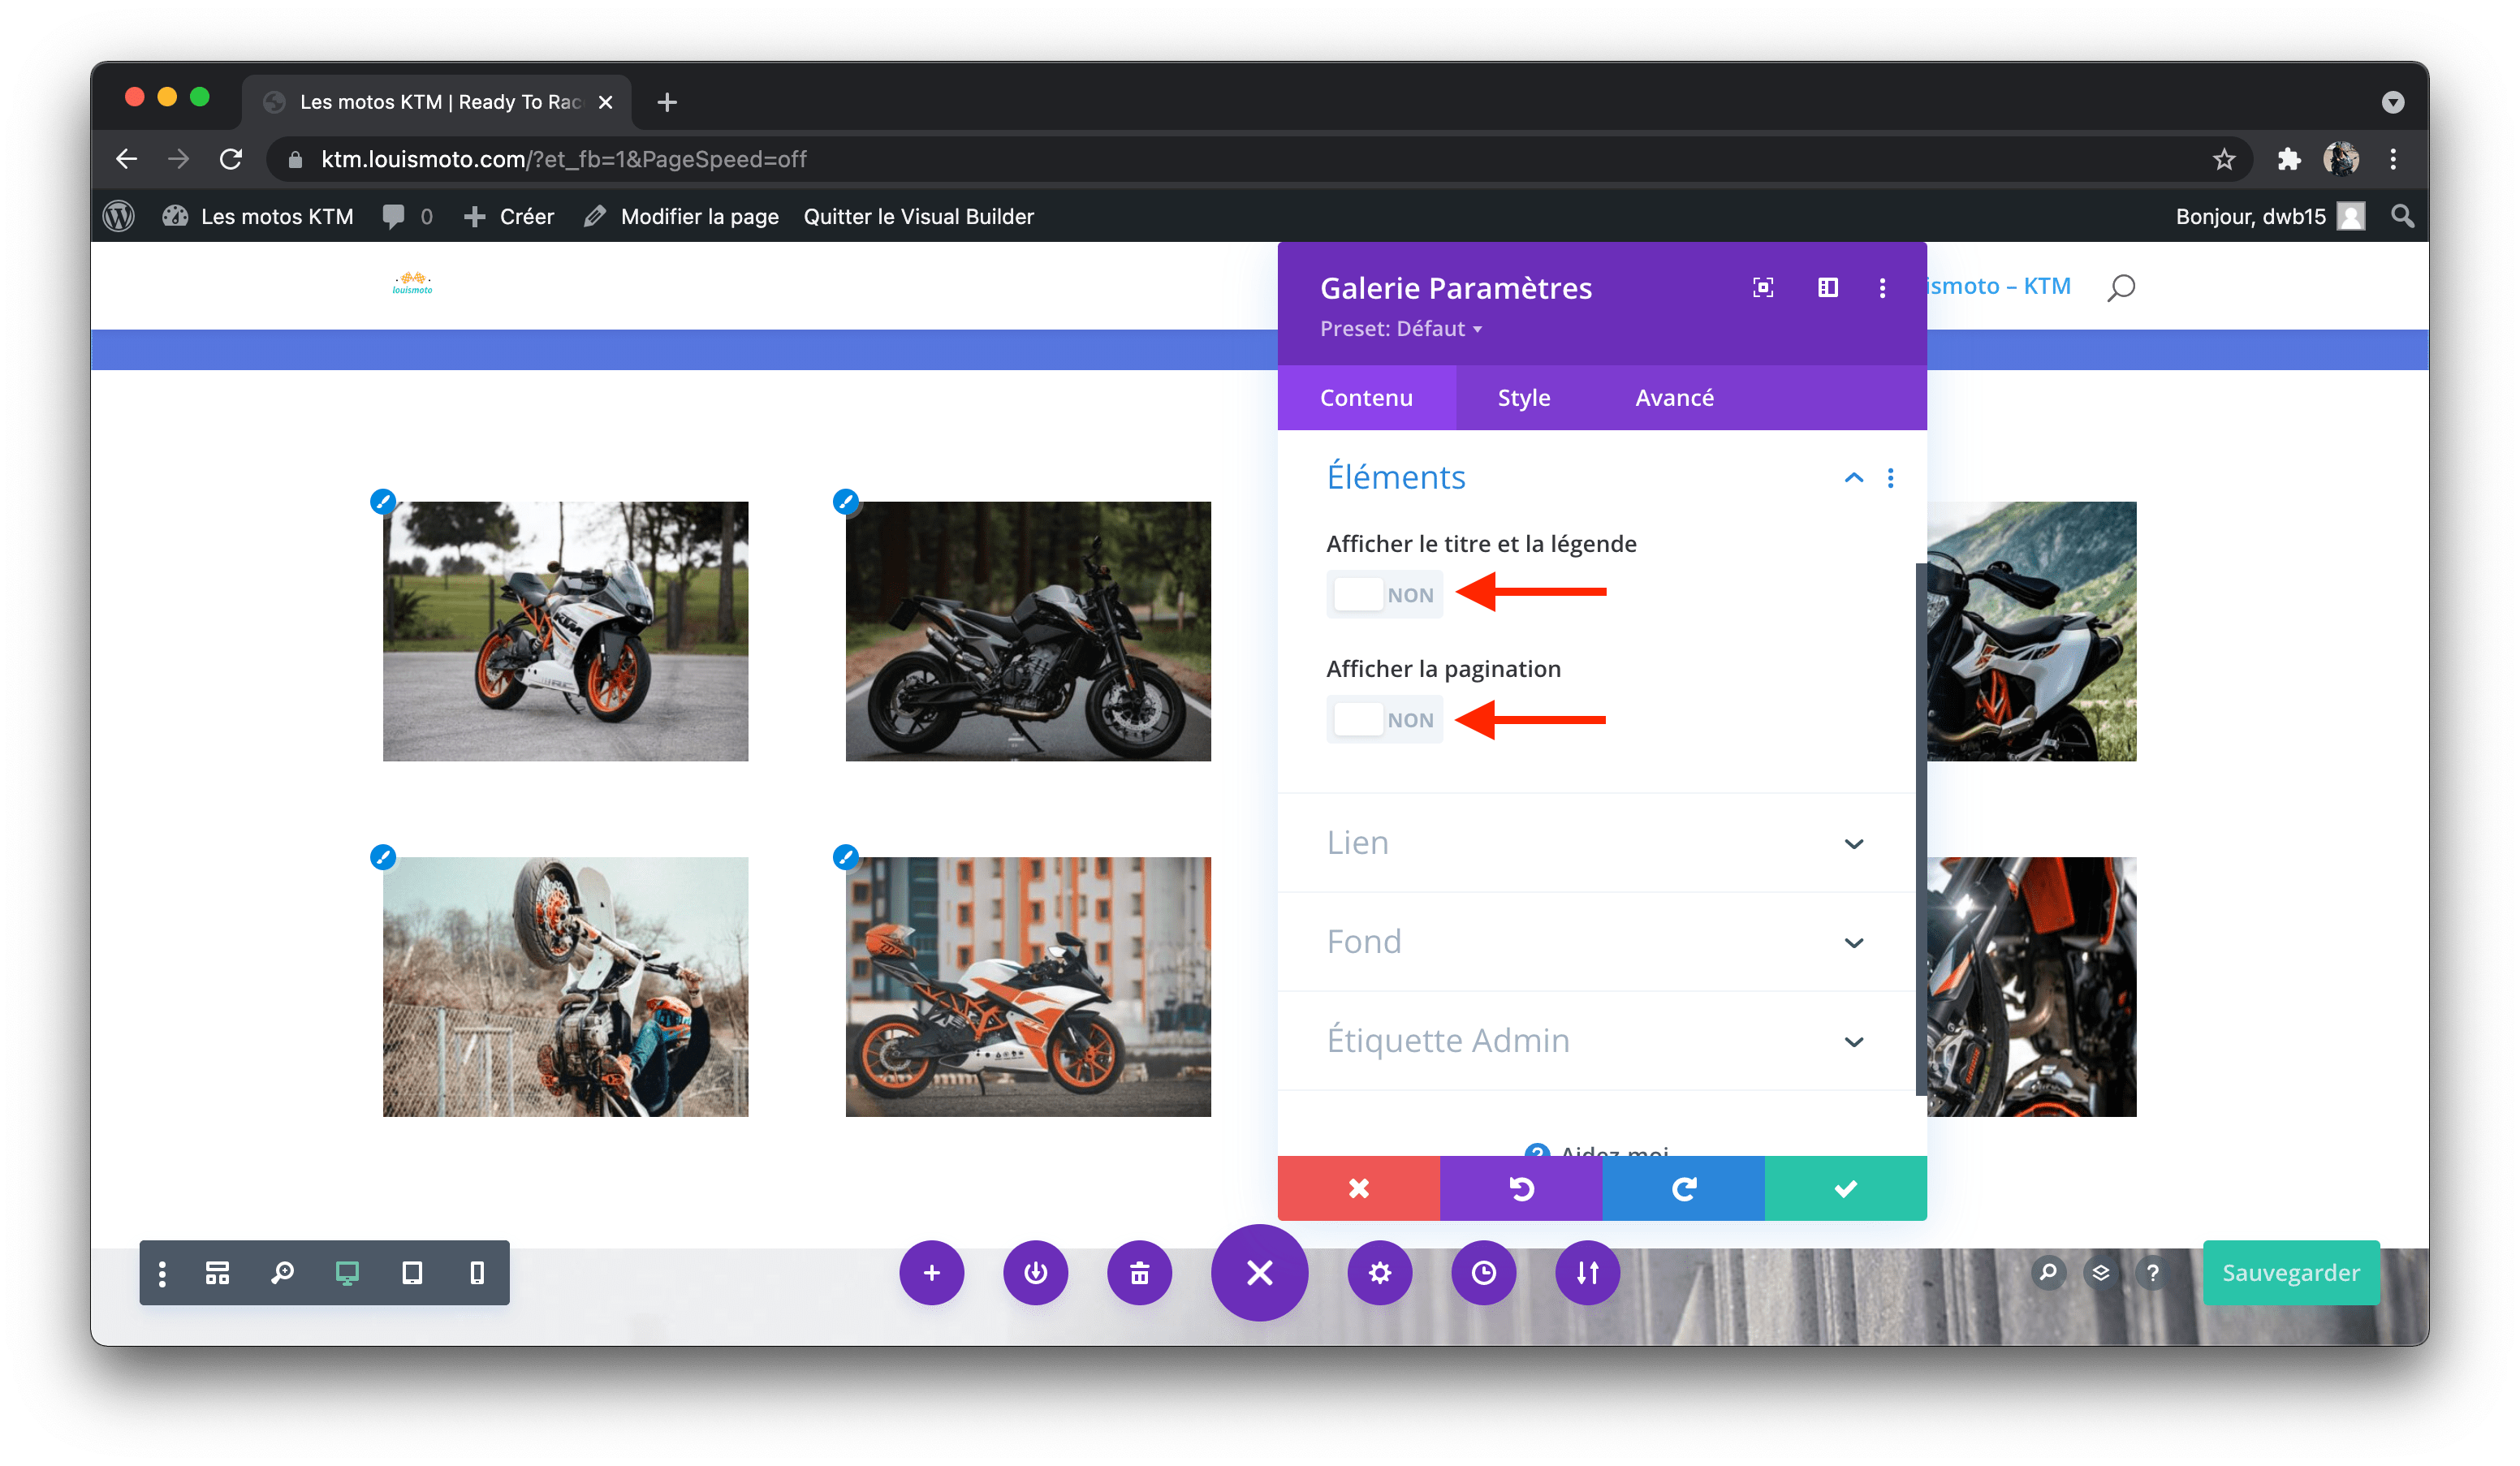
7. Click on the green check mark.

8. Click on the section (green) and click on the gear.

9. Go to style.

10. In the sizing section, under the custom use option

11. In the Spacing section, under the option margin and internal margin, enter 0px.

12. Click on the green check mark.

13. Click on the section (blue) and click on the gear.

14. In the Spacing section, under the option margin and internal margin, enter 0px.

15. Save and publish the changes by clicking on the purple button ... and click Save.
Now let's change the contact form.
1. To change the text, click on the modules and their respective gears.

2. Now let's change the background image. Click on the section (blue) and click on the gear.

3. Choose a background of your choice and click on the green check mark.


Let's create a new footer.


14. Below the Title, let's add the Menu module. Let's put the following settings for the menu: white text color and black background.

15. Duplicate the title twice, to keep the same style.

16. Let's change a title to Stay Connected. Let's add the Social Networks module underneath.

17. Change the size of the icons and center them.


19. Save and publish the changes by clicking on the purple button ... and click Save.

Let's remove the magnifying glass in the main menu.
1. Click on the dashboard of your Wordpress site.
2. Hover over Divi and click on Theme Customizer.

3. Click on Header and Browser.
4. Click on Header Elements.

5. Uncheck Show search icon.

6. Click on the Publish button to save the changes.

Let's add a page for the KTM 390's LEARN MORE button.
1. Click on the dashboard of your Wordpress site.

2. Hover over Pages and click on Add.

3. Enter the name of the page and click on Use Divi Builder.

4. Click on Choose Layout.

5. Choose your page layout.

6. Click on Use This Layout.

7. Modify the text in the header and add an image with the purple gear.


8. Delete the useless sections.
9. Change the image of the left section with the green gear.


10. Change the text directly in the right module.


11. Now, let's make the link between the button and the page we just created. In the main page, click on the grey gear of the module.

12. Go to link and change the link of the button to the page we just created.

13. Save and publish the changes by clicking on the purple button ... and click Save.

Let's add a Blog page to your website.
1. Click on the dashboard of your Wordpress site.

2. Hover over Page and click on Add.

3. Enter the name of your page: Blog and click on Use Divi Builder.

4. Click on Choose layout.

5. Choose your layout and click on Use This Layout.

6. Change the header to your liking. Change the title and subtitle. Change the background image and the color.

7. Delete unnecessary sections.
8. Add articles in the Wordpress dashboard. Hover over Articles and click on Add.

9. Add your articles by clicking on the Add button. Here I added 2 fake articles.

10. Let's add the Blog page to our main menu. Hover over Appearance and click on Menus.

11. Check Blog, click on Add to Menu and click on Save Menu.

12. You now have a Blog page that is accessible through the main menu.
Updated on: 14/02/2023
Thank you!